Growing microgreens seems like the simplest thing in the world, a tray, some seeds, a bit of water, and you’re supposed to have a harvest in 7–14 days. But the most common problems growing microgreens catch even experienced growers off guard, often right when the crop looks like it’s doing fine. One morning everything’s green and promising, the next you’ve got mold creeping across the soil or seedlings flopped over like they gave up.
The frustrating part is that most of these issues aren’t caused by bad seeds or bad luck. They come from small mistakes in moisture, airflow, light, or timing, things that are completely fixable once you know what to look for.
In this guide, we’re covering the five problems that trip up growers most often: mold growth, damping off, leggy seedlings, uneven germination, and poor flavor or texture at harvest. Each one has clear causes and clear solutions, so let’s get into it.
In This Article
Affiliate Disclosure: This post contains affiliate links. If you purchase through these links, I may earn a small commission at no extra cost to you. This helps keep the website and blog running so I can continue creating free content. Thank you for your support!
5 Common Problems Growing Microgreens
Every grower hits these at some point, mold creeping across a tray, seeds that won’t pop, stems flopping over by day four. The good news is that most of these problems come from one or two small variables that are easy to adjust once you know what to look for. Here’s a breakdown of what’s actually going wrong and how to fix it.
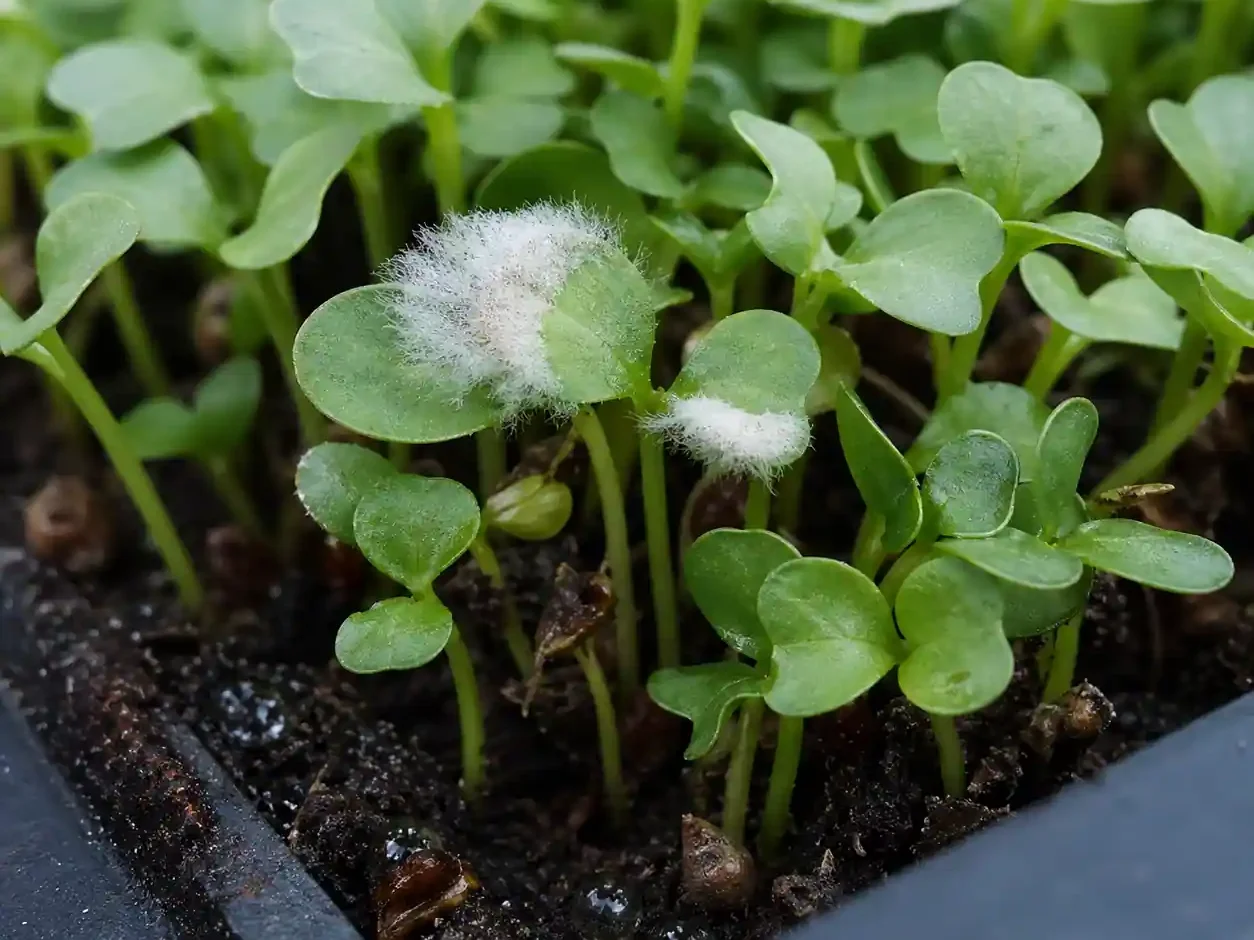
Problem 1: Mold
Mold is probably the most common reason people give up on growing microgreens. You see white fuzz spreading across the soil and assume the whole tray is ruined. Sometimes it is. But often it’s fixable and sometimes what you’re seeing isn’t even mold.
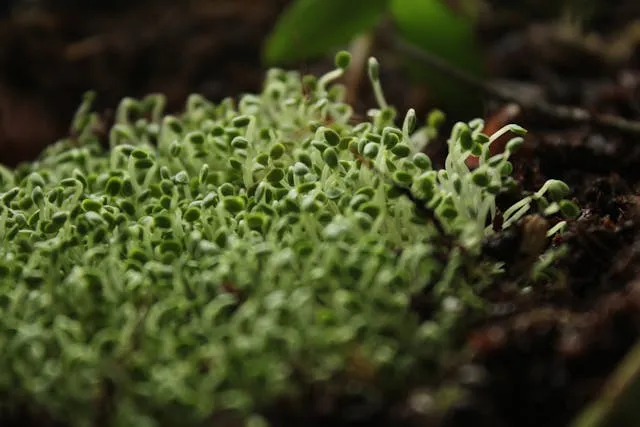
Mold vs. root hairs (don’t panic yet)
A lot of growers mistake root hairs for mold, especially with cilantro.
- Root hairs are white, wispy, and grow from the base of each stem individually
- They’re uniform and follow the pattern of the seedlings
- Real mold is clumpy, patches unevenly, and has a fuzzy or powdery look
- Cilantro is a repeat offender, its root hairs look genuinely mold-like. If it wipes away cleanly or looks organized, it’s probably roots
Why mold keeps coming back
If you’ve treated it once and it came back, the conditions that caused it are still there:
- Too much surface moisture (top-watering leaving pooled water)
- No airflow over the tray
- High humidity, especially during germination under a dome with no venting
- Overcrowded seed density trapping moisture between stems
Common causes to check first
- Overwatering, the soil stays wet instead of moist
- Watering from the top during and after germination
- No fan or air movement in the growing space
- Covering trays too tightly during germination
How to fix it
- Switch to bottom watering as soon as seeds germinate, pour water into the tray beneath and let the soil wick it up.
- Run a small fan on low nearby, or at least crack a door or window.
- During germination, vent the dome for an hour or two each day.
- If mold is already present, dilute hydrogen peroxide (3%) with water 1:1 and mist the affected area, this is a simple DIY microgreen mold spray that won’t harm the seedlings.
Soil-specific mold problems
Some soils hold moisture much longer than others and basically create mold conditions on their own.
- Peat-heavy or coco coir mixes stay wet a long time, reduce watering frequency.
- Soils with organic matter like compost can introduce mold spores directly.
- If your microgreen soil developed mold across multiple trays, the soil itself might be the source, try a fresh bag from a different batch or switch to a coconut coir and perlite blend.
- Reusing trays without washing them is another culprit, mold spores stay behind.
For a full deep-dive on stopping mold for good, read our guide, Microgreen Mold: Why It Keeps Coming Back and How to Stop It.
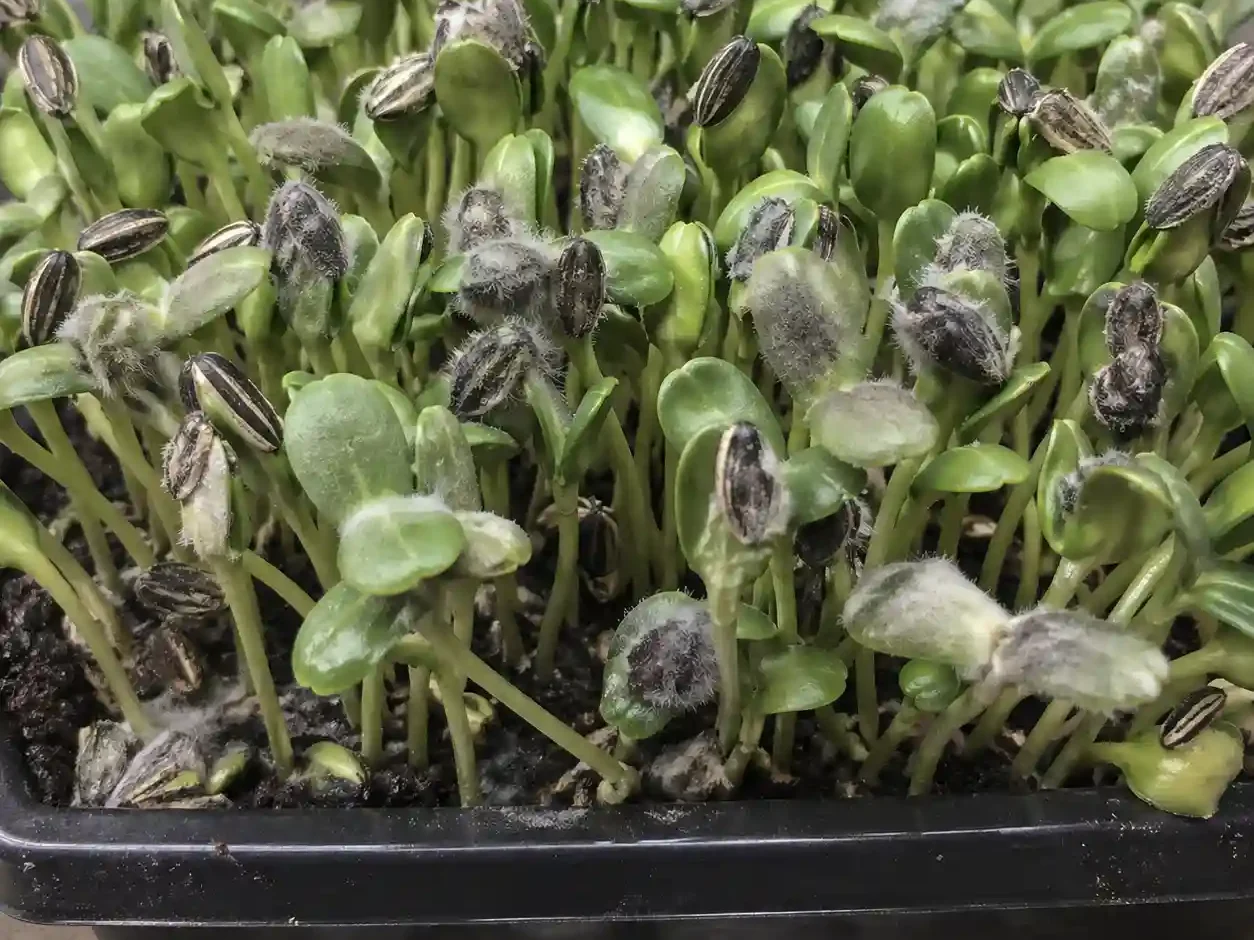
Problem 2: Mold on Sunflower Microgreens
Sunflowers get their own section because they mold more than almost any other variety and the reason isn’t usually what growers think.
Why sunflowers are different
The seeds are big, densely packed, and hold moisture in the hull long after the soil has dried out. That trapped moisture is basically a mold invitation. Fungus on sunflower microgreen seeds usually starts at the hull, not the soil, which is why treating the soil alone doesn’t solve it.
Hull-on seeds (black shells still attached) are the main culprit. The shell holds water against the seed for hours after watering, and in a warm blackout phase with no airflow, that’s enough to kick off mildew on sunflower seeds in microgreens within a day or two.
Step-by-step fix
- Soak for the right amount of time — 8 to 12 hours, not longer. Over-soaking swells the seed and makes the hull harder to shed, trapping even more moisture. For full soaking and prep instructions across different varieties, see our [microgreen seed preparation guide].
- Rinse after soaking — drain and rinse with clean water before planting, then spread them out briefly so surface water evaporates.
- Space the seeds properly — sunflowers need room. Overcrowding means hulls press against each other and moisture has nowhere to go. A single layer with seeds just touching is the target.
- Blackout phase airflow — don’t seal the tray completely. Leave a small gap or use a weight-only method (heavy tray on top, no dome) so some air still moves through.
- Remove shed hulls — once seedlings are up and hulls start falling off, clear them from the tray. Sitting hulls rot and spread mold fast.
Hull-off seeds are worth trying if mold keeps growing in sunflower microgreens despite fixing everything else. They’re pricier but remove the problem at the source.
Dealing with sunflower-specific issues beyond mold? See our full guide, Sunflower Microgreen Problems: Pests, Mold and Leggy Growth Fixed.
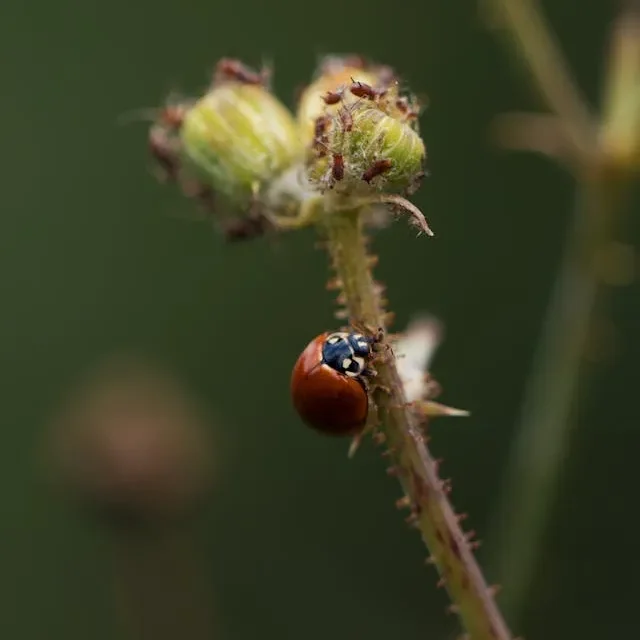
Problem 3: Pests, Worms and Maggots
Finding something moving in your tray is jarring. Most growers assume the worst, but what you’re seeing is almost always one of two things i.e. fungus gnat larvae or occasionally shore fly maggots. Actual worms are rare indoors unless you’re using garden soil or unsterilized compost.
What you’re actually looking at
- Fungus gnat larvae are thin, translucent, with a small black head, they stay near the soil surface and feed on roots
- Maggots are thicker, off-white, no visible head, usually shore flies, which look like tiny fruit flies hovering near the tray
- Actual worms (earthworms) are larger, move slowly, and only show up if outdoor soil made it into the mix
- With sunflower microgreens specifically, small worm-like activity near the hull or soil surface is almost always fungus gnat larvae, not true worms
Where they come from
- Overwatered soil is the main draw, fungus gnats lay eggs in wet topsoil
- Potting mixes with heavy compost content often carry eggs already
- An open bag of soil sitting in a shed or garage for weeks is a common source nobody thinks about
Prevention
- Bottom water only, keeping the top layer of soil dry cuts the egg-laying cycle off completely
- Use a sterile, peat-free or coco coir mix, fewer organic particles means less to attract them
- Don’t leave spent trays sitting around; they become breeding grounds fast
- Good drainage matters, soil that stays soggy at the bottom keeps the whole environment hospitable
Treatment
- Yellow sticky traps placed near trays catch adult gnats before they lay more eggs
- A thin layer of sand on the soil surface deters egg-laying, gnats need moist soil to deposit
- Diluted neem oil watered into the soil (not sprayed on seedlings) disrupts larvae without harming the crop
- For a bad infestation, toss the tray, scrub it with diluted hydrogen peroxide, and start clean, trying to save a heavily infested tray rarely works
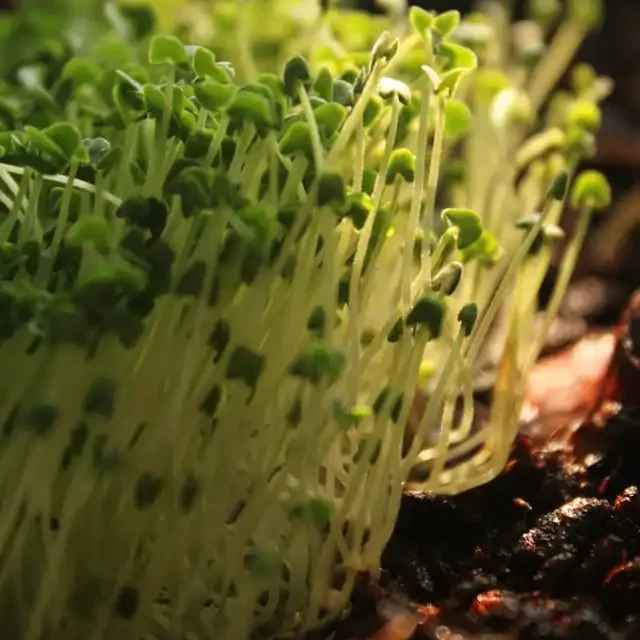
Problem 4: Slow or Uneven Germination
You plant a full tray and three days later half of it is up and the other half looks untouched. This is one of the more frustrating microgreen problems because it creates a chain reaction, the sprouts that are up start stretching toward light while the ones still dormant haven’t even cracked yet.
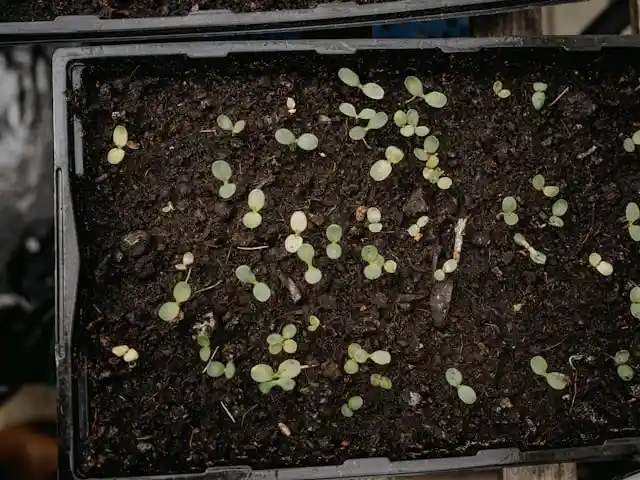
Why it happens
The most common cause is inconsistent moisture across the tray. Seeds in the center get more coverage, edges dry out faster, and you end up with patchy results. Cold rooms make it worse, soil temperature below 60°F slows germination significantly, sometimes stopping it altogether.
Old or low-quality seeds are worth checking too. If a batch has been sitting open for months, germination rates drop. A quick viability test, drop seeds in water, discard the floaters, tells you fast whether the seeds are worth planting.
Variety-specific issues
- Sunflowers have a thick, heavy hull that needs solid moisture contact to crack. If seeds are sitting on loose, uneven soil, some never make proper contact and just sit there
- Peas are sensitive to soak time. Under-soaked peas germinate slowly and unevenly; 8–12 hours in water before planting makes a real difference
Fixes that actually work
- Tamp the soil firmly and evenly after spreading seeds, a flat-bottomed tray pressed down works fine
- Bottom heat mats bring soil temperature up to 70–75°F and make germination noticeably faster and more uniform
- Soak large-seeded varieties before planting, sunflowers, peas, and fenugreek all respond well
- Mist the seeds once after planting to ensure surface contact, then switch to bottom watering
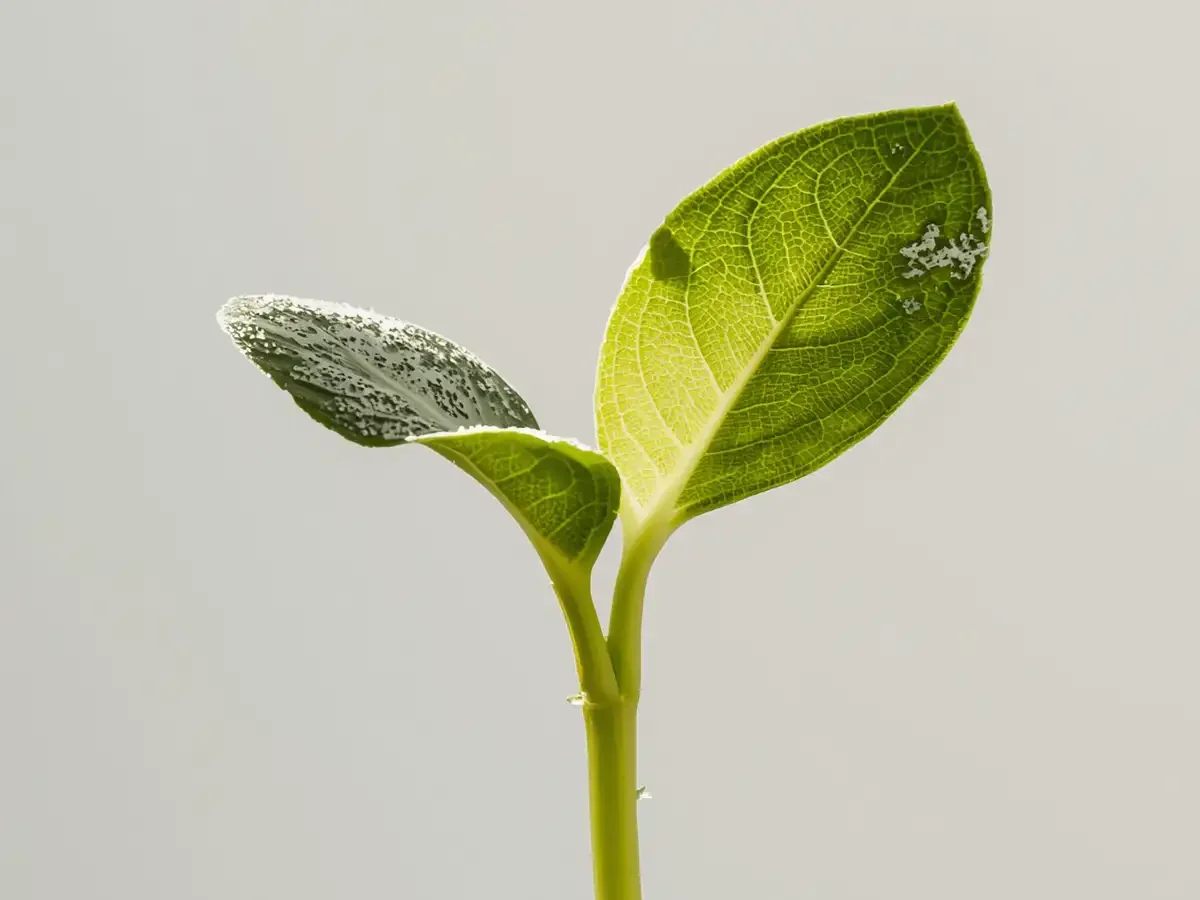
Problem 5: General Growing Problems (Leggy, Slow, Wilting)
Most microgreen problems indoors come down to three things: light, temperature, and substrate. None of them are hard to fix once you know which one is causing trouble.
Leggy growth
Leggy microgreens, tall, floppy stems that can’t hold themselves up, almost always mean not enough light.
- Seedlings stretch toward whatever light source they can find, which makes stems long and weak
- A sunny windowsill usually isn’t enough, especially in winter. Most varieties want 12–16 hours of light
- A basic grow light 2–4 inches above the tray fixes this fast. You don’t need anything expensive
- If stems are leaning toward one side, rotate the tray daily or center it under the light
Slow or uneven germination
- Cold rooms slow everything down, most seeds germinate best between 65–75°F
- Uneven seed coverage means some spots get crowded and others get air-dried
- Pressing seeds firmly into contact with the soil after spreading makes a real difference
- If one variety consistently germinates poorly, soak it for 4–8 hours before planting
Wilting after harvest
This one catches people off guard because the crop looked fine right up until cutting.
- Wilting usually means the microgreens were harvested too dry or stored without moisture
- Harvest in the morning when stems are most hydrated
- Rinse, spin dry gently, and store in a container with a dry paper towel to absorb excess moisture
- Don’t harvest and leave them sitting on the counter, they go downhill fast
Substrate problems worth knowing
The growing medium affects nearly everything, drainage, moisture retention, mold risk. For microgreen mold prevention, substrate choice matters as much as watering habits. Coco coir drains well and carries fewer pathogens than heavy potting mixes. If problems keep repeating across multiple trays, the substrate is worth looking at before anything else.
Most of these problems fix themselves once one or two variables change. It’s rarely the seeds.
New to growing? Start with the right foundation, Beginner’s Guide to Growing Microgreens Indoors.
Mold Prevention Quick-Reference
If you skipped straight here, that’s fine. Here’s what actually keeps mold out of your trays:
Watering
- Bottom water only, pour into the tray beneath and let the soil wick it up
- Never let water pool on the soil surface after germination
- Water less than you think you need to. Soggy soil is the root cause of most mold
Airflow
- Run a small fan near your trays, even on the lowest setting
- During germination, vent the dome or cover for at least an hour a day
- Don’t stack trays flush against each other, air needs to move between them
Seed density
- Overcrowding traps moisture between stems and slows drying after watering
- One even layer with seeds just touching is the target for most varieties
- Sunflowers and peas need slightly more space than small-seeded varieties like radish or broccoli
Hull removal
- Remove shed hulls as soon as seedlings push them off, sitting hulls rot fast
- For sunflowers, pre-soak 8–12 hours then rinse before planting to help hulls release cleanly
Tray hygiene
- Scrub trays with diluted hydrogen peroxide between grows
- Don’t reuse soil, mold spores stay behind even when the old crop looks clean
- Store open soil bags sealed and off the ground
Substrate choice
- Coco coir drains faster and carries fewer pathogens than heavy potting mixes
- Avoid compost-heavy soils for indoor trays, they stay wet too long and introduce spores
- For microgreen mold prevention, substrate matters as much as how you water
One rule that covers most of it: if the top of your soil is still wet 24 hours after watering, something needs to change less water, better drainage, more airflow, or all three.
Other Common Problems With Microgreens
Not every issue fits neatly into its own category. Here are a few that come up regularly but don’t need a full breakdown.
Slimy stems near the soil line Usually a sign of too much moisture sitting at the base. It’s not always mold, sometimes it’s just decomposing seed husks pressed against wet stems. Fix the watering, clear any debris, and it typically resolves within a day or two.
Yellowing leaves Some yellowing at the very bottom of the tray is normal, those leaves weren’t getting light. If the whole tray is pale or yellow at harvest, it’s usually a light problem, not a nutrient one. Microgreens grow fast enough that they don’t need fertilizer, but they do need real light hours.
Bitter or bland flavor at harvest Harvest timing matters more than most growers expect. Too early and flavor hasn’t developed. Too late and it turns sharp or bitter, especially with radish and mustard varieties. Most microgreens hit their flavor peak right at or just after the first true leaves appear.
Tray smells bad A sour or rotting smell almost always points to anaerobic conditions, soil that’s staying too wet for too long with no airflow. It’s not just unpleasant; it means the roots are sitting in conditions that will affect flavor and shelf life. Bottom water, add airflow, and if the smell is strong, cut your losses and start fresh.
Seeds not sticking to the soil More of an annoyance than a crisis, but loose seeds that roll around never make proper soil contact and germinate poorly. Press them down after spreading, even light pressure with a flat tray makes a difference.
Frequently Asked Questions
Why are my microgreens not growing?
Usually temperature or moisture. Seeds need consistent warmth (65–75°F) and even soil contact to germinate. If the room is cold, germination slows or stalls. If the soil dried out in the first 24–48 hours, seeds that hadn’t cracked yet just sit dormant. Check your soil temperature first, then look at moisture consistency across the whole tray.
How do I get rid of mold on my microgreens?
Mist the affected area with a 1:1 mix of hydrogen peroxide and water, then improve airflow immediately. Switch to bottom watering if you haven’t already — keeping the soil surface dry is what stops mold from spreading. If it’s covering most of the tray, the crop is probably not worth saving.
What does mold look like on microgreens?
Patchy, fuzzy, and uneven — it clusters in spots rather than following the pattern of your seedlings. White root hairs look similar but grow uniformly from the base of each stem. If the white fuzz wipes away easily and isn’t attached to the soil, it’s likely roots. If it’s spreading between plants and smells off, it’s mold.
Why does mold keep coming back in my microgreens?
Because the conditions that caused it are still there. Mold comes back when the soil stays too wet, airflow is poor, or seeds are too densely packed. Treating it once without changing how you water or ventilate just delays the next outbreak by a few days.
Can you eat moldy microgreens?
No. This is one of the real problems with eating microgreens that aren’t properly managed. Mold on the soil sometimes stays below the cut line, but if there’s visible mold touching the stems or leaves, don’t eat them. It’s not worth the risk, and the flavor will be off anyway.
What causes worms in sunflower microgreens?
They’re almost never actual worms. What most growers see are fungus gnat larvae — thin, translucent, with a tiny black head — which thrive in wet soil. Overwatering is the main cause. Switching to bottom watering and letting the soil surface stay dry breaks their breeding cycle fast.
How do I prevent mold in microgreen soil?
Bottom water only, run some airflow over the trays, don’t overcrowd seeds, and use a well-draining substrate like coco coir. Keeping the top layer of soil dry is the single biggest factor. If the surface is still wet 24 hours after watering, something needs adjusting.
Is there a difference between mold and mildew on microgreens?
Yes, though both cause similar problems. Mold is typically fuzzy and appears on soil or stems — it’s the more common issue in microgreen trays. Mildew tends to be flatter and powdery, showing up on leaf surfaces rather than at the soil level. Treatment is similar for both: improve airflow, reduce moisture, and use a diluted hydrogen peroxide spray. Sunflower microgreens see both, especially when humidity is high during the blackout phase.